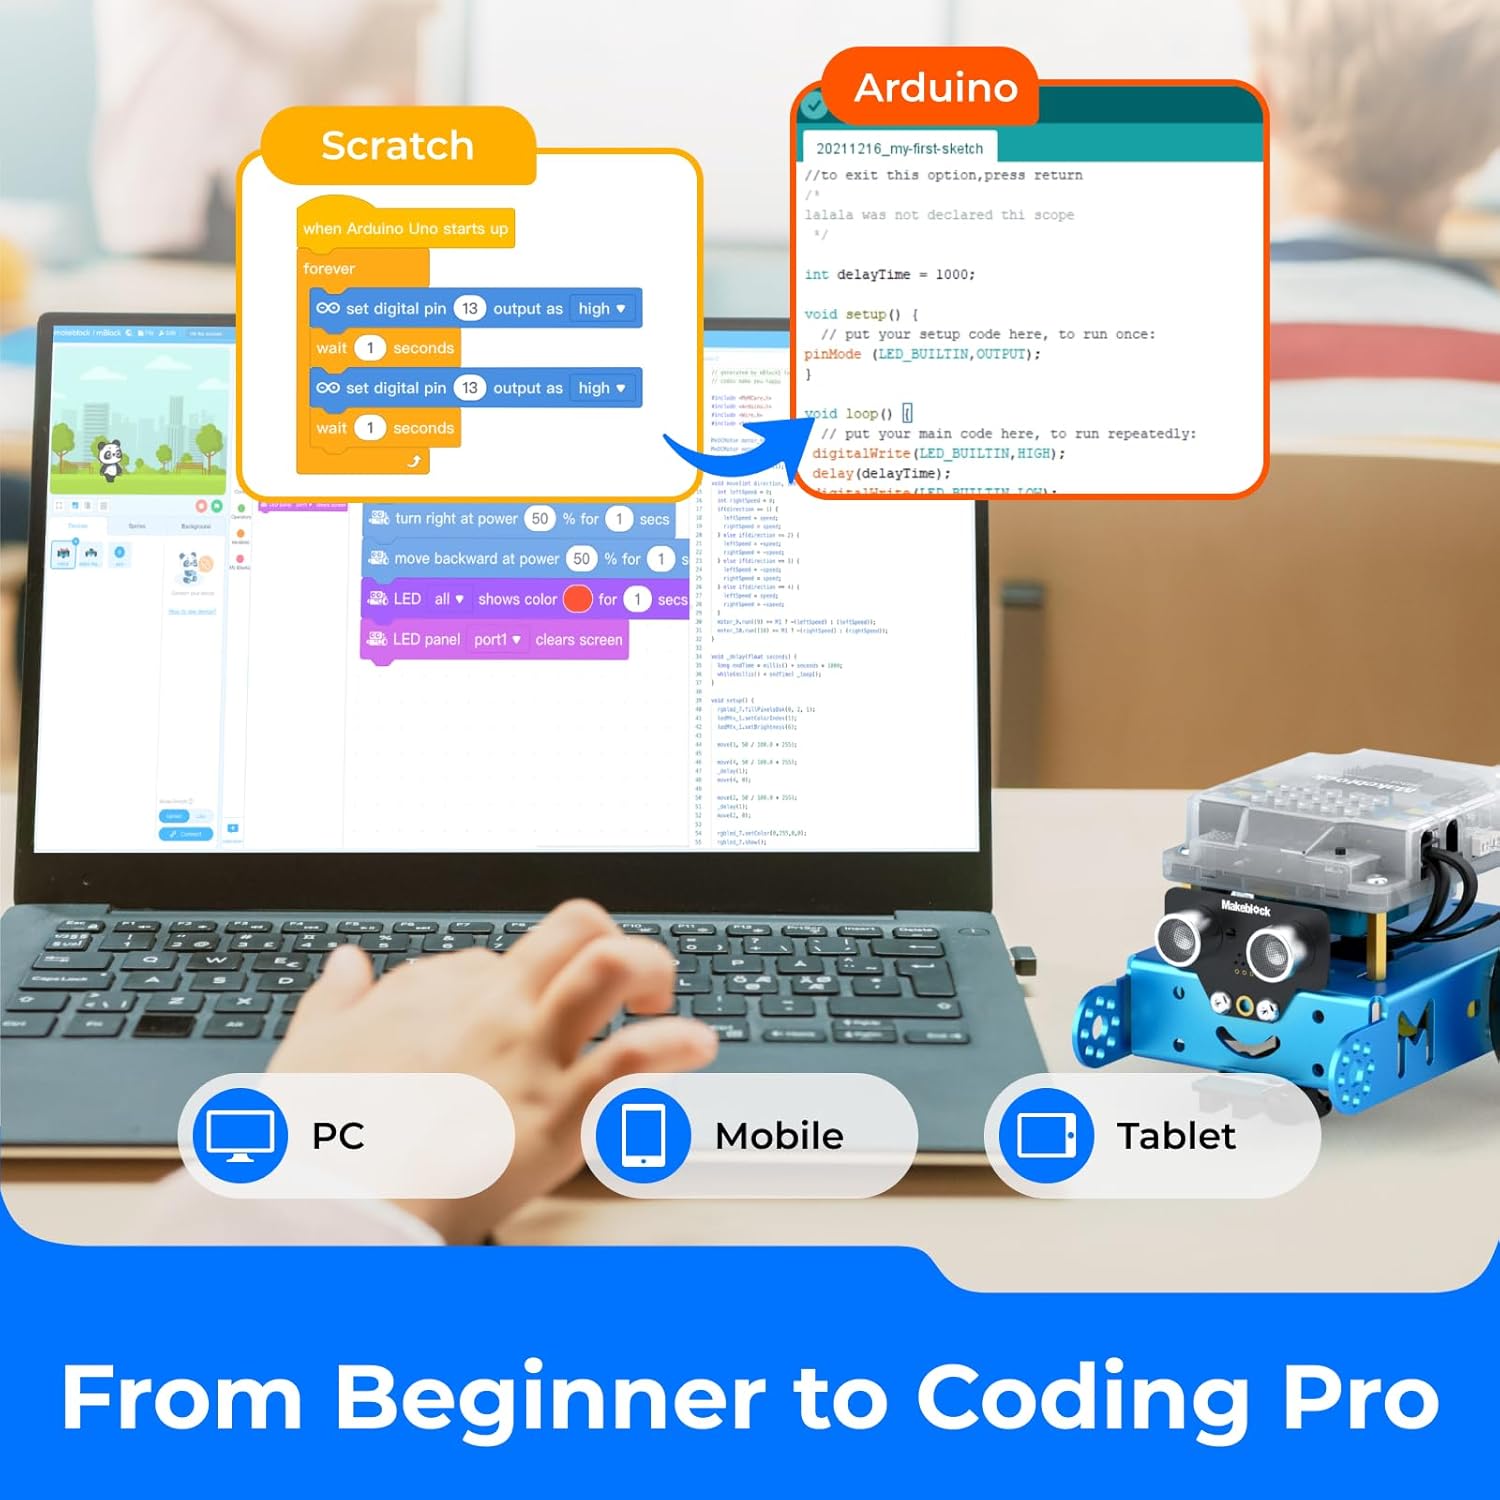
If you’ve been shopping classroom or maker-shelf robotics kits, you’ve almost certainly landed on Makeblock’s mBot line. Makeblock is a Shenzhen-based educational robotics company, and the mBot is their flagship beginner robot — a small, wheeled chassis (think a shoebox-sized car you assemble yourself) that you program using Scratch, a drag-and-drop visual coding language originally developed at MIT. The pitch is clean: kids or adult beginners snap it together in under an hour, drag colorful code blocks on a screen, and the robot moves. No typing, no compiler errors, no frustration. What’s less obvious from the product page is that mBot isn’t one thing — it’s a ladder. There are three distinct hardware generations, two incompatible software ecosystems, and an accessory catalog that can quietly double your initial spend if you’re not paying attention. This guide is going to walk you through the full picture: what you actually get at each tier, where the hidden costs live, and the decision rule that tells you which kit to buy first.
The Three Kits and What They Actually Are
Makeblock currently sells three products that most buyers compare: the mBot Neo (the current entry-level model, formerly called the mBot v1.1 in its previous generation), the mBot2, and the mBot Mega. They are not simply “small, medium, large.” They run on different microcontroller architectures, and that distinction has downstream consequences for every accessory and learning resource you’ll use.
mBot Neo is the entry point. It runs on Makeblock’s own CyberPi microcontroller — a compact board with a small color screen, Wi-Fi, and Bluetooth built in. The native programming environment is mBlock 5, Makeblock’s Scratch-based IDE (integrated development environment — the software you write code in). For Scratch-level programming and basic sensor work, the Neo is more than enough. Published specs put wireless range at roughly 10 meters via Bluetooth and the onboard display at 1.44 inches — small, but enough to show sensor readouts and simple graphics.
mBot2 is essentially the same chassis as the Neo but uses the more capable CyberPi at a slightly higher spec tier and positions itself explicitly toward the Scratch-to-Python transition. Makeblock’s own documentation calls it the platform designed for “AI and IoT learning,” and the CyberPi’s Wi-Fi connectivity enables cloud-based AI features inside mBlock 5 — image recognition, speech recognition — that don’t exist on older mBot hardware.
mBot Mega is a different animal: a four-wheeled Mecanum-wheel platform (Mecanum wheels let a robot strafe sideways, not just turn) that runs on an Arduino Mega-compatible controller. This is where the ecosystem genuinely opens up to the full Arduino library ecosystem — the vast catalog of open-source code that the broader maker community has written for Arduino hardware.
By the numbers:
| Kit | Controller | Native IDE | Street Price (May 2026) | Arduino-compatible? |
|---|---|---|---|---|
| mBot Neo | CyberPi | mBlock 5 / Scratch | ~$65–$80 | No |
| mBot2 | CyberPi (enhanced) | mBlock 5 / Python | ~$109–$130 | No |
| mBot Mega | Arduino Mega-compatible | mBlock 5 / Arduino IDE | ~$179–$220 | Yes |
Prices sourced from aggregated retailer data as of May 2026 and vary by channel.
The Scratch-to-Arduino Gap Is Real — and Wider Than Marketing Suggests
Here’s the tradeoff that Makeblock’s marketing softens: the CyberPi platform (Neo and mBot2) is not Arduino-compatible. That matters more than it sounds.
The Arduino ecosystem — supported by the open-source Arduino IDE — gives you access to thousands of pre-written libraries for sensors, motors, displays, and communication modules. When a student or maker outgrows mBlock 5’s visual interface and wants to control a servo using a third-party library they found on Hackaday, they can’t simply plug that library into a CyberPi-based board and run it. Hackaday’s mBot firmware deep-dive notes this explicitly: the CyberPi uses an ESP32 chip under the hood, which can be programmed via other ESP32-compatible toolchains, but doing so voids mBlock 5 compatibility and requires re-flashing firmware — a process that’s accessible to an experienced maker but genuinely confusing for a classroom teacher trying to run a reproducible curriculum.
The mBot Mega sidesteps this entirely because it runs on an ATmega2560 chip — the same architecture as a genuine Arduino Mega. The Arduino IDE recognizes it natively. You can load community libraries without touching firmware. IEEE Spectrum’s coverage of block-based programming education consistently flags this kind of architectural lock-in as a long-term curriculum consideration: platforms that don’t connect to standard toolchains eventually create a ceiling that frustrates advancing students.
The practical decision rule: If your use case tops out at Scratch-level or early Python coding in a structured curriculum, the Neo or mBot2 is the right tool and the locked ecosystem doesn’t cost you anything. If you’re buying for a student or maker who will hit that ceiling within 12–18 months, start with the Mega and save the re-purchase cost.
Hidden Upgrade Costs: Where the Budget Quietly Expands
The Robot Report’s 2025 educational robotics market overview notes that platform accessory revenue is increasingly where educational robotics companies recoup margin — and mBot is a clear example of this pattern. Here’s where buyers consistently get surprised:
Sensor packs. The base mBot Neo ships with one ultrasonic distance sensor and one line-following sensor. Expanding to a color sensor, a soil moisture probe for a STEM science project, or an additional servo output means purchasing Makeblock’s RJ25-connector accessories — a proprietary connection format that only works with Makeblock controllers. Budget $15–$40 per sensor add-on. A classroom wanting four distinct sensor types is looking at $60–$160 in accessories before the first lesson that goes beyond the default curriculum.
The mBlock 5 classroom license. The free tier of mBlock 5 covers individual use. Makeblock’s classroom management console — which lets a teacher push code to multiple robots simultaneously and monitor student progress — sits behind a paid subscription. As of 2025–2026, classroom license tiers start around $300/year for up to 30 students. Make: Magazine’s roundup of classroom robotics kits flags this specifically: the per-robot sticker price understates true classroom deployment cost by a meaningful margin when you fold in software.
Replacement parts and chassis durability. Owners in long-run community reviews consistently note that the plastic chassis on the Neo and mBot2 holds up fine for normal use but that the wheel encoder gears (small plastic gears inside the wheel motors that let the robot measure how far it’s traveled) are a wear item in high-use classroom environments. Replacement motor modules run $12–$20 each, and a class of 20 students running a robot daily through an eight-week unit will likely need 2–4 replacements over a semester.
Bluetooth vs. Wi-Fi connectivity. The Neo’s Bluetooth-only connection means one device at a time can control or program the robot. If you’re running a classroom with multiple robots and want students working simultaneously on their own tablets, you need mBot2 (Wi-Fi) or a workaround involving USB cables. This isn’t disclosed prominently in the comparison matrix on Makeblock’s product pages.
Which Kit to Start With: The Decision Framework
There’s no single right answer, but there is a clear set of if/then rules based on who’s buying and why.
If you’re a parent buying for one child, age 8–12, new to coding: Start with the mBot Neo. At $65–$80, it’s the lowest-friction entry point, the Scratch environment is genuinely well-designed, and the CyberPi’s onboard screen adds enough interactivity to stay engaging. The ecosystem ceiling won’t be a problem for 1–2 years. Owners consistently report that the assembly experience alone — roughly 45–60 minutes — is meaningful bonding time and teaches spatial reasoning before a single line of code is written.
If you’re a STEM educator buying 6–20 units for a classroom: Budget for mBot2 over Neo, and build in $300+ for the mBlock classroom license from day one. The Wi-Fi connectivity on mBot2 is not optional in a multi-device classroom — it’s the feature that makes simultaneous, independent student work possible. The Robot Report’s market overview puts classroom robotics total cost of ownership 35–60% above hardware sticker price when you include software, accessories, and replacement parts over a two-year program lifecycle. That math holds here.
If you’re a maker or prosumer who wants Arduino extensibility: Skip the Neo and mBot2 entirely and buy the mBot Mega. The Mecanum wheels are genuinely useful for robotics projects that require omnidirectional movement, and Arduino IDE compatibility opens the full community library ecosystem. You won’t be constrained by Makeblock’s proprietary accessory connector — standard Arduino shields work. Hackaday’s community coverage of mBot modifications consistently treats the Mega as the platform worth hacking; the CyberPi platforms get much less attention because the toolchain flexibility just isn’t there.
If you’re a competition prep coach evaluating mBot for FIRST or VEX prep: Honest answer: mBot is not a competition platform. It’s a stepping stone. For students who are 6–18 months away from a VEX IQ or FIRST Tech Challenge season, the mBot2 can serve as an introduction to sensor-based autonomous programming and basic PID concepts (PID is a control algorithm — a mathematical recipe — that robots use to follow lines or hold a heading smoothly). But don’t mistake the platform for competition hardware. The build quality, motor torque, and expansion headroom aren’t in the same class as VEX IQ, and coaching staff should communicate that distinction to students and parents clearly before families invest in accessories.
The Honest Bottom Line
The mBot ecosystem is genuinely good at what it’s designed for: lowering the barrier to entry for robotics education and giving beginners a real, programmable robot at a price that doesn’t require an institutional budget. The Scratch environment works. The hardware is reliable. Makeblock has invested in curriculum resources that teachers actually use.
What the marketing undersells is that you’re making a platform bet, not just a hardware purchase. The CyberPi and Arduino-compatible worlds are separate tracks, and switching between them means buying new hardware — not just downloading a new app. The accessory ecosystem is deep but proprietary at the connector level. And classroom deployment costs materially more than the per-unit price suggests.
Do the math before you order: hardware plus software license plus two years of wear-item replacements. For most single-student buyers, the Neo or mBot2 is the right call. For classrooms and serious makers, the calculus shifts. Know which track you’re on before you commit, and the mBot ecosystem will deliver solid value. Buy the wrong tier and you’ll be back at checkout sooner than you planned.